

How to Crop an Image
Crop a photo and save the result in Photo Editor.
Steps
Step 1: Download and Install Photo Editor
Download the Photo Editor installer, then run it to install Photo Editor.
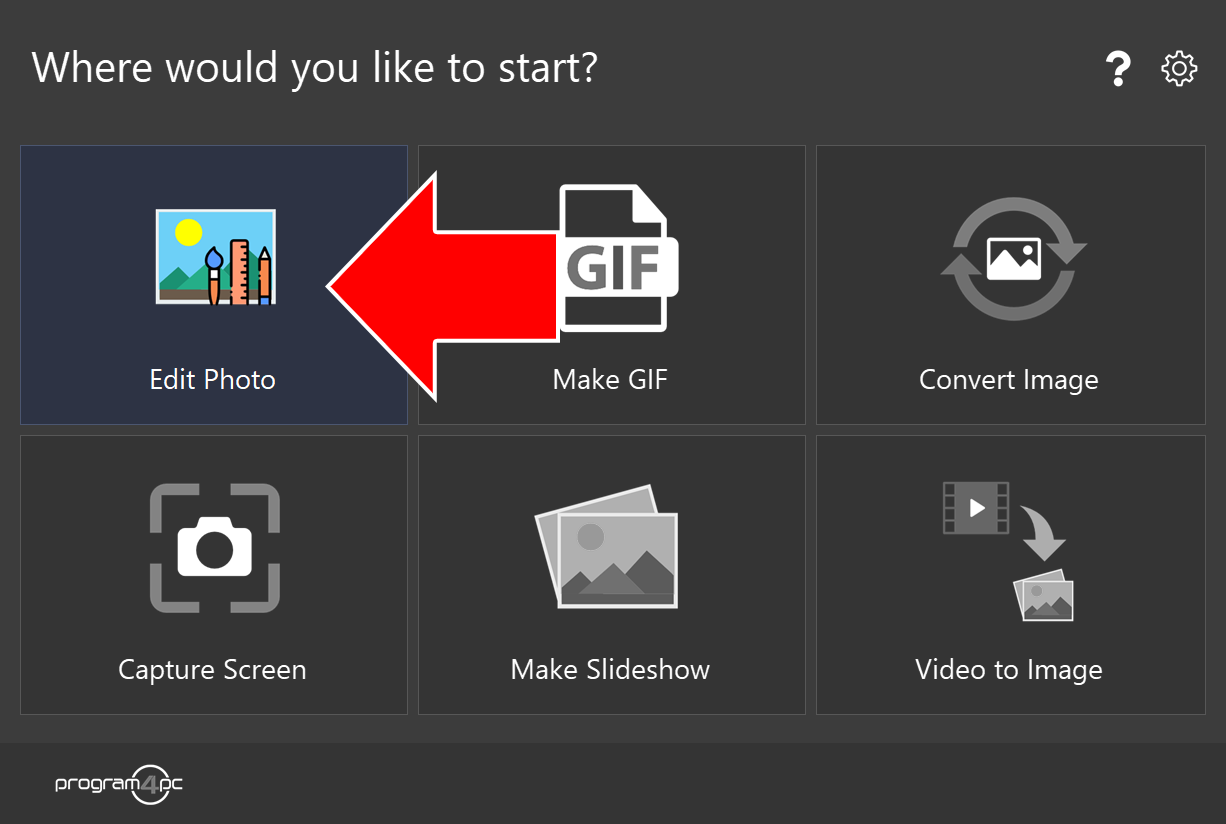
Step 2: Run Photo Editor and Click Edit Photo
On the start screen, click Edit Photo to open the photo editor.
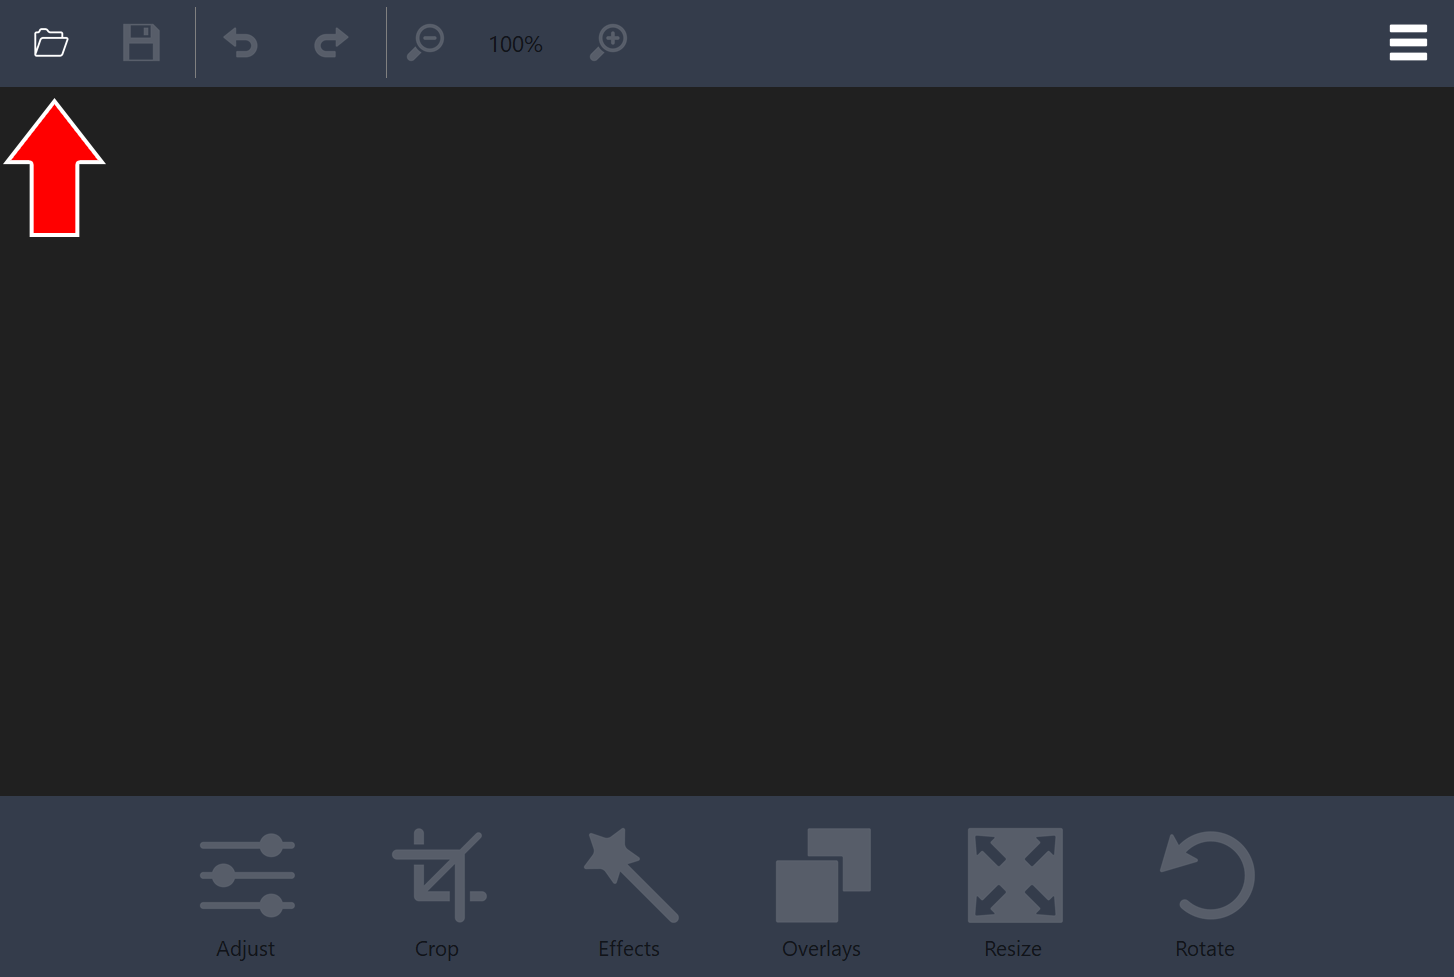
Step 3: Open an Image File
Click the folder icon in the top-left corner of the toolbar and select the image you want to edit.
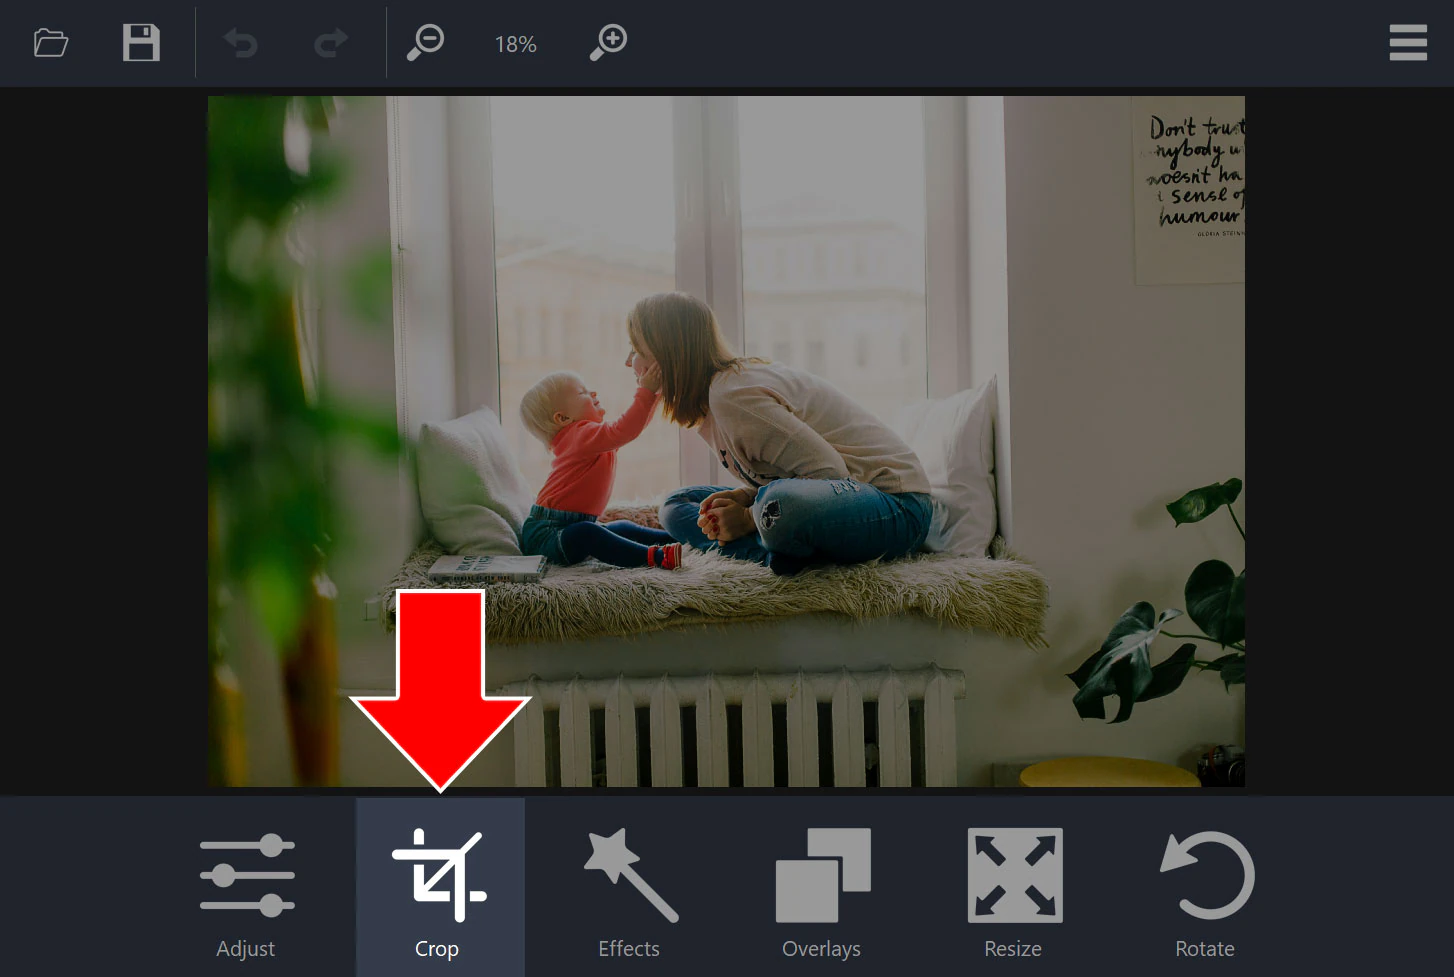
Step 4: Click Crop
Click Crop in the toolbar at the bottom of the window.
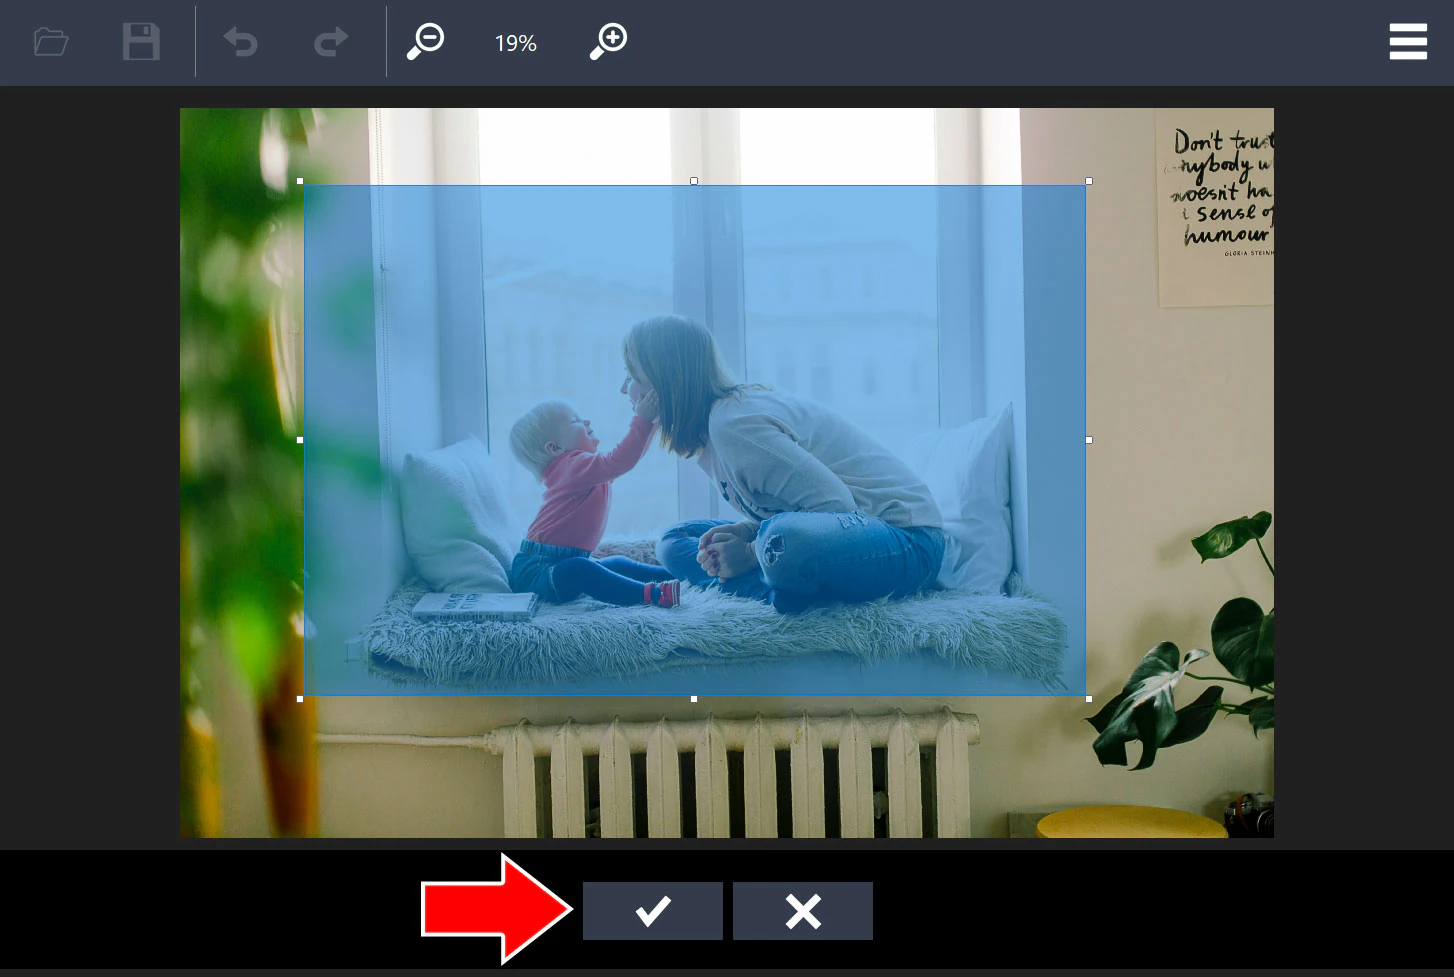
Step 5: Adjust the Crop Area
Drag the handles on the edges and corners of the highlighted area to choose the part of the image to keep, then click the check mark button.
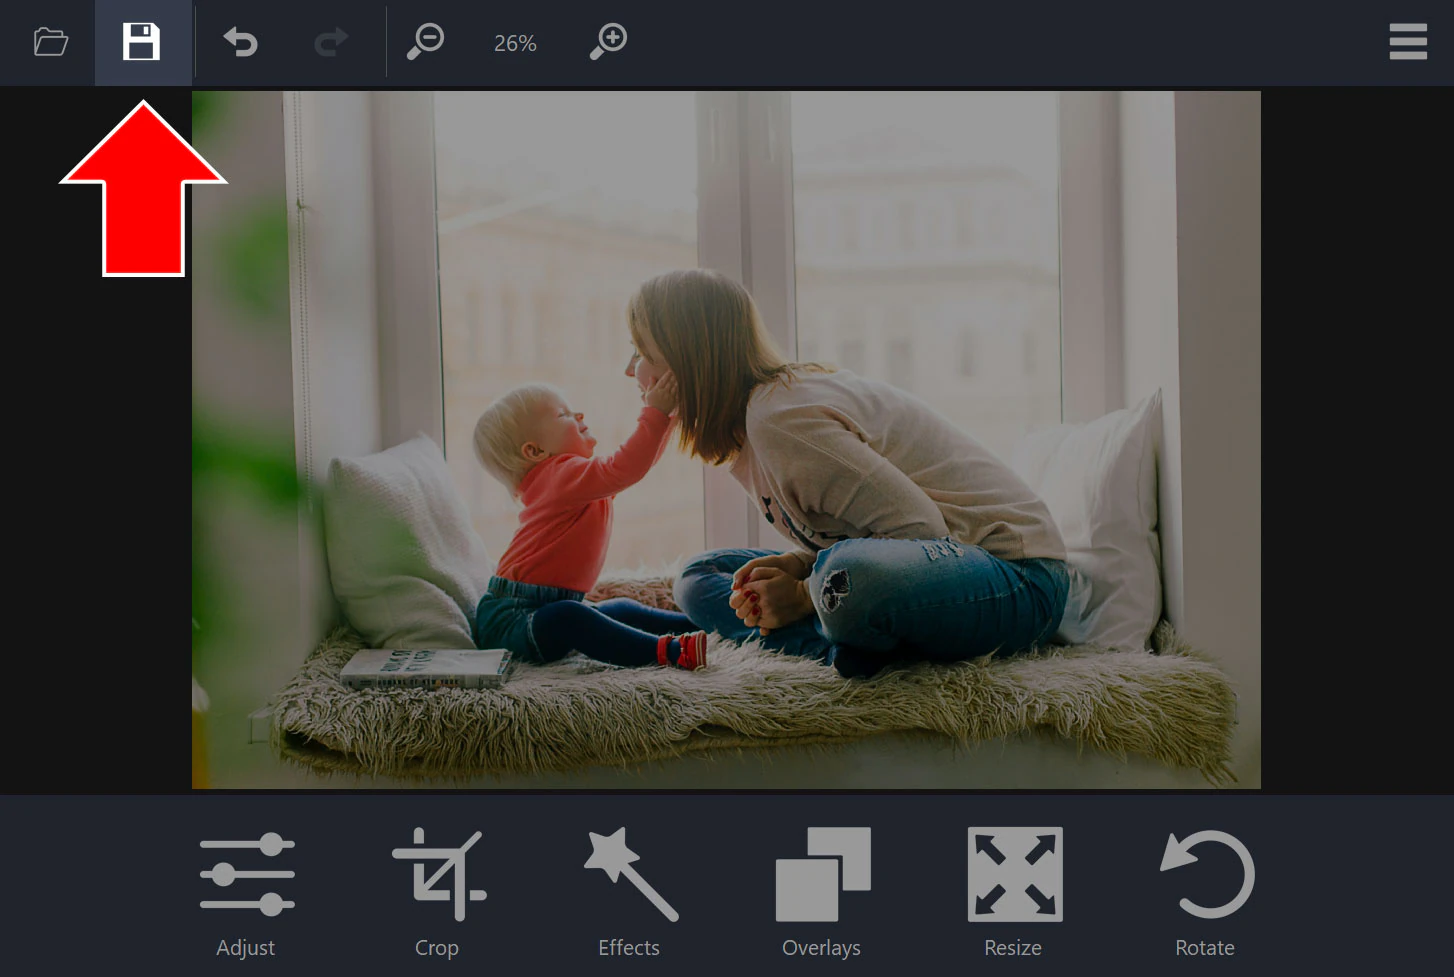
Step 6: Save Changes
Click the disk icon in the top-left corner of the toolbar to save the cropped image.
That’s it!
Need more help?
Browse more guides, or contact our Support Team if you can’t find what you need.